si_kabayan
Members-
Posts
20 -
Joined
-
Last visited
-
Days Won
2
si_kabayan last won the day on January 9 2024
si_kabayan had the most liked content!
Converted
-
LOCATION
UK
si_kabayan's Achievements
-
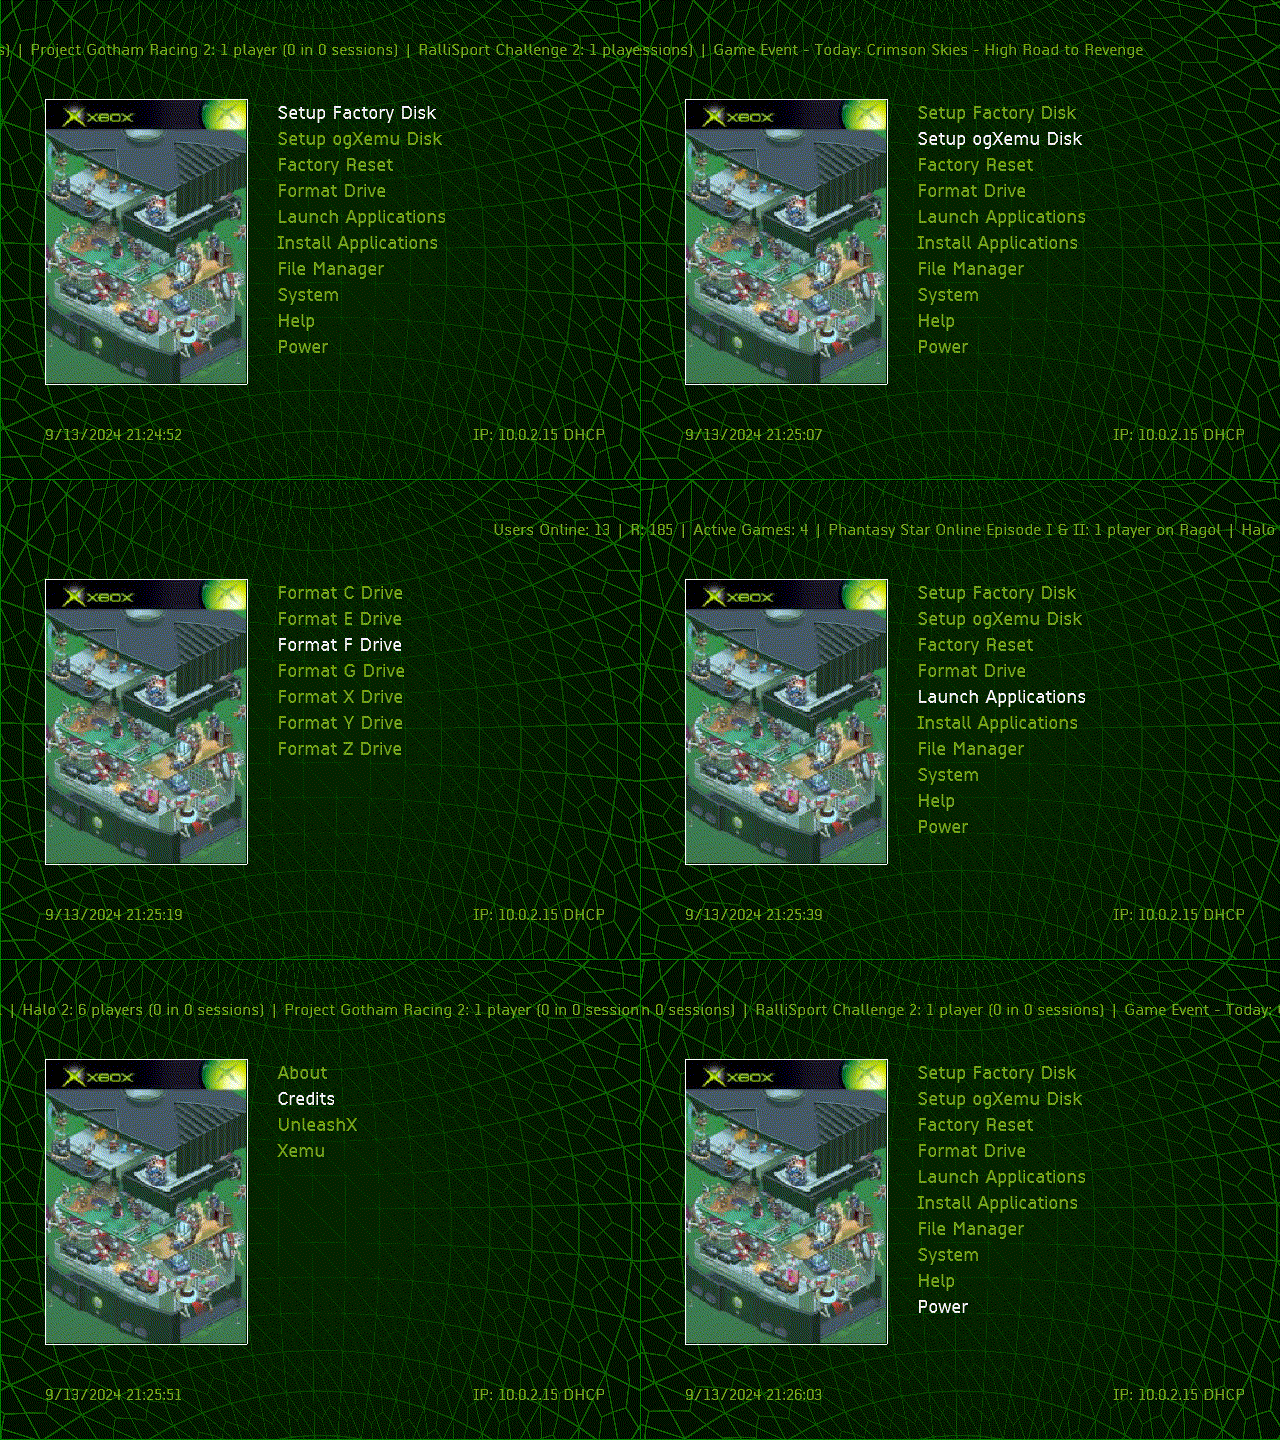
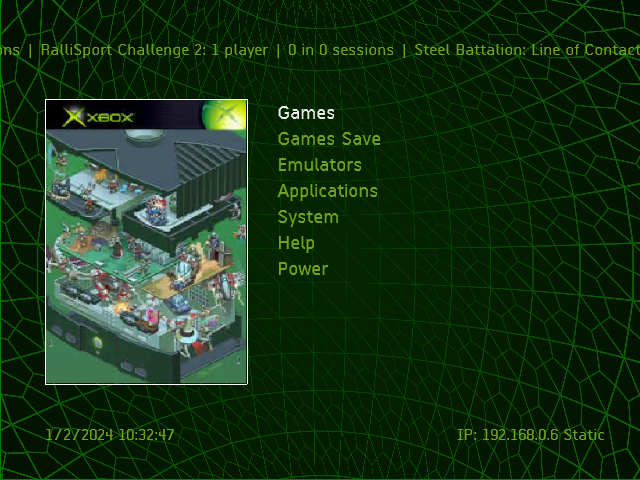
ogXemu is a simple installer for the xemu emulator. It doesn't try to do many things or provide everythings. The features: Setup disk to factory configuration (Microsoft dashboard) Setup disk to ogXemu configuration (UnleashX dashboard and some core applications) Factory reset to restore disk into factory state without rebuild the partititions. Format C, E, F, G, X, Y, and Z drive. Launch core applications (Config Magic, DVD2Xbox, XBpartitioner, and Xored Mini) in live environment. Selectively install core applications. File Manager. System information. Help topics. Download link (Mega, 86 MB)
-
- 3
-

-

-
Linux ogXbox Tool Box
si_kabayan replied to si_kabayan's topic in Personal Computer (PC, MAC, Linux) General Talk
Nemo script above is 404. Here's the correct link. -
Linux ogXbox Tool Box
si_kabayan replied to si_kabayan's topic in Personal Computer (PC, MAC, Linux) General Talk
It's open source. And as long as you know what you're doing, I think it would be fine. The only risky app in the list is xboxdumper, which probably can destroy your data. -
How to Compile ISO Kernel Patcher to enable EvoX M8+ launch game in ISO mode. WHAT So, our box already have EvoX M8+ and don't want or can't install CerBios but want its xiso launch capability. What's chance? Worry not, we can use ISO Kernel Patcher to create virtual CD/DVD device by patching kernel in memory. Just set default dashboard to load, compile the patcher, and then put it into the path where BIOS would load (usually in C:) HOW Download and extract "ISO Kernel Patcher.7z" Here's the extracted files structure: ISO Kernel Pat Author si_kabayan Category Member Submitted Tutorials Submitted 01/17/24 11:01 AM
-
WHAT So, our box already have EvoX M8+ and don't want or can't install CerBios but want its xiso launch capability. What's chance? Worry not, we can use ISO Kernel Patcher to create virtual CD/DVD device by patching kernel in memory. Just set default dashboard to load, compile the patcher, and then put it into the path where BIOS would load (usually in C:) HOW Download and extract "ISO Kernel Patcher.7z" Here's the extracted files structure: ISO Kernel Patcher/ ├── CDROM modchip │ ├── cdromimagedrv.asm │ ├── diskcdromdef.inc │ ├── footer.asm │ ├── header.asm │ ├── kexports.inc │ ├── make_with_listing.bat │ ├── My Setup │ │ ├── Build & Sign xbe.bat │ │ ├── src │ │ │ ├── cdromimagedrv.asm │ │ │ ├── diskcdromdef.inc │ │ │ ├── footer.asm │ │ │ ├── header.asm │ │ │ ├── kexports.inc │ │ │ ├── xbe path.asm │ │ │ └── xboxapp.asm │ │ └── tools │ │ ├── nasm.exe │ │ └── xbedump.exe │ ├── nasm.exe │ ├── xboxapp.asm │ └── XBOX HDD │ ├── apps │ │ ├── detacher │ │ │ └── default.xbe │ │ ├── isoripper │ │ │ ├── backup.cfg │ │ │ ├── default.xbe │ │ │ └── only use this ripper if a created ISO don't work │ │ └── Kernel patcher │ │ └── default.xbe │ └── games │ └── test_game │ ├── default.xbe │ └── put any game ISO here └── README.txt In the root of "CDROM modchip" folder are source files of ISO Kernel Patcher. But we will use Rocky's "My Setup" folder for an easier dash setup and also Habibi signing. Go to "My Setup" and then "src" folder, then edit "xbe path.asm" file to set the main dashboard path. I usually keep my UnleashX dashboard folder in C:\ and the UnleashX binary itself is named unleashx.xbe. So, for example lets put C:\UnleashX\unleashx.xbe as the main dashboard to boot. Change this line, from: %define DASH_PATH '\Device\Harddisk0\Partition2\Ind-Bios\Dashloader.xbe' To: %define DASH_PATH '\Device\Harddisk0\Partition2\UnleashX\unleashx.xbe' Note: Partition1 is E, and Partition2 is C. Go back to "My Setup" root directory and run "Build & Sign xbe.bat" script. We will then get Patcher.xbe generated. This is the ISO Kernel Patcher. Rename Patcher.xbe to evoxdash.xbe as most modchip will look for this file. You can use another name if have a custom BIOS configuration. Send this evoxdash.xbe to our Xbox. To the path where BIOS would find. Usually in C:\. Done. When Xbox is booted, instead of launch a dashboard now the BIOS will launch ISO Kernel Patcher that create a virtual CD/DVD device. After that, it will then boot the dashboard set in build config. To launch game in iso mode, we need an "attacher" to attach/mount the iso to the virtual CD/DVD device. Use DVD2Xbox in ISO Mode, Repackinator, redump2x, etc to manage games that can be launched in ISO mode. ISO Kernel Patcher.7z
-
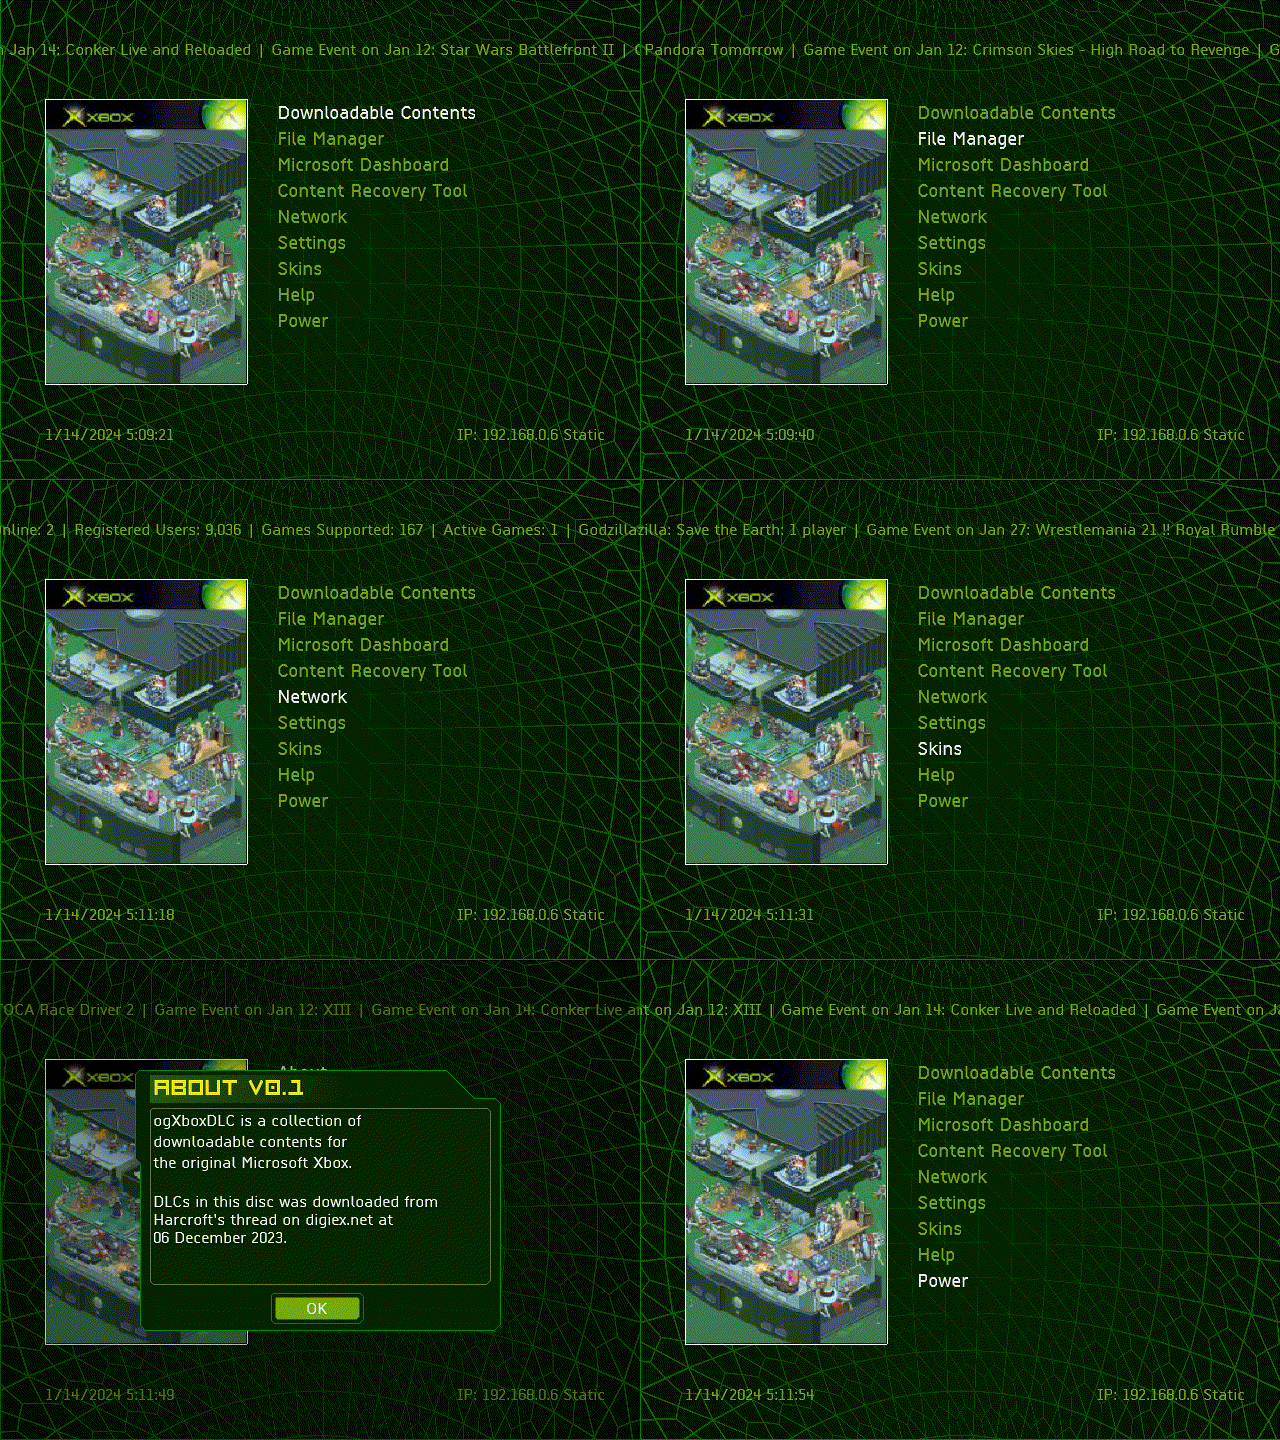
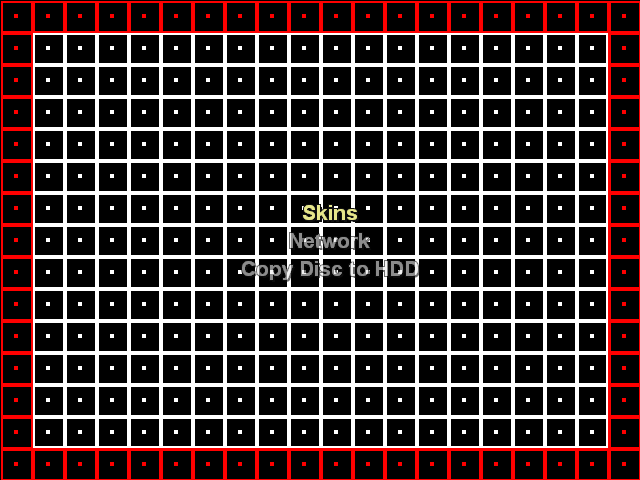
About: ogXboxDLC is an installer or boot disc of known DLCs (and Titile Updates) for the original Microsoft Xbox. The DLCs was downloaded from Harcroft's thread at digiex.net on 06 December 2023. I've only tested the installer using xemu and xiso boot on real Xbox. So no warranty if it's would works on physical disc. Features: Easy to use menu, with some help section so you wont get lost. Install 113 Downloadable Contents. If you're CRT lover, use the Grid and SMPTE skin to calibrate your TV. Content Recovery Tool to manually "resigning" DLC. Download Link: https://mega.nz/file/BQgkwD7K#9ED50wVw9DI4xnO4k1111MIE-obMY-XlFLY0YGbYmbY Archive size: 3 GB Iso size: 7,5 GB How To Use: If your box can boot xiso: (1) extract the ogXboxDLC.7z, then (2) send extracted folder to your games directory (usually F:\GAmes or G:\Games) If you want to burn it into a disc: (1) extract the ogXboxDLC.7z, (2) join ogXboxDLC.0.iso and ogXboxDLC.1.iso into one iso, and then (3) burn that single iso to disc. On Linux machine, use cat to concatenate/join the isos: cat ogXboxDLC.0.iso ogXboxDLC.1.iso > ogXboxDLC.iso Notes: UnleasX used as the installer is know for bad memory management. When we browse the DLC menu, after some scrolling down the cover art will become blurry and gone. Build script is included in the xiso. It may not automagically works. See the note in the script for the reasons. I've uploaded ogXboxDLC to a free Mega account. So no warranty if it will stay online.
-
I wish there's new project to use USB type C to Xbox power supply. GaN can deliver 200 Watt in small form factor.
-
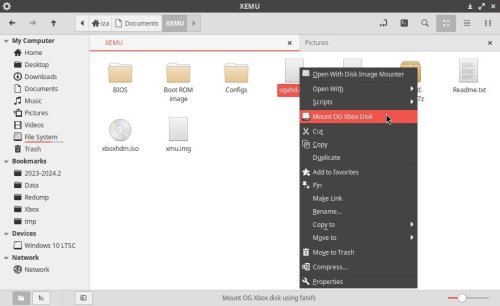
View File Nemo Actions to mount OG XBox disk image WHAT: This is a Nemo Action script to enable mount OG Xbox disk image (in .img or .qcow2 format) option in nemo's context menu. This archive contains files as shown below: nemo-mount-ogxbox-disk ├── fatxfs ├── INSTALL ├── mount_xbox_disk.nemo_action └── nemo-mount-ogxbox-disk fatxfs is my personal build of https://github.com/mborgerson/fatx INSTALL is these files install script. mount_xbox_disk.nemo_action is the nemo action nemo-mount-ogxbox-disk is the main script HOW TO: Install yad and qemu-nbd. E.g. in Debian based it's sudo apt install yad qemu-utils Extract nemo-mount-ogxbox-disk.7z Enter the newly extracted directory run INSTALL script Select which PATH to install the files Profit! NOTE: The script try to mount image as regular user if possible. But qcow2 image (default used by qemu) need to exposed as network block device which AFAIK only root can access it. Ofcourse we can include this script to sudoer, but I think it better to keep the default behaviour. nemo-mount-ogxbox-disk.7z Submitter si_kabayan Submitted 01/07/24 Category PC Based Applications
-
Version 0.2
15 downloads
WHAT: This is a Nemo Action script to enable mount OG Xbox disk image (in .img or .qcow2 format) option in nemo's context menu. This archive contains files as shown below: nemo-mount-ogxbox-disk ├── fatxfs ├── INSTALL └── nemo-mount-ogxbox-disk fatxfs is my personal build of https://github.com/mborgerson/fatx INSTALL is these files install script. nemo-mount-ogxbox-disk is the main script HOW TO: Install yad and qemu-nbd. E.g. in Debian based it's sudo apt install yad qemu-utils Extract nemo-mount-ogxbox-disk.7z Enter the newly extracted directory run INSTALL script Select which PATH to install the files Profit! NOTE: The script try to mount image as regular user if possible. But qcow2 image (default used by qemu) need to exposed as network block device which AFAIK only root can access it. Ofcourse we can include this script to sudoer, but I think it better to keep the default behaviour. nemo-mount-ogxbox-disk.7z -
Linux ogXbox Tool Box
si_kabayan replied to si_kabayan's topic in Personal Computer (PC, MAC, Linux) General Talk
redump2x redump2x is a Bash script to convert ogxbox redump archive into xdvdfs (xiso). It's utilize xdvdfs and driveimageutils attacher. Features: convert redump iso or archive to xiso format. copy game's certificate to attach.xbe. sanitize xiso filename (to conform FATX limitations). split xiso into two equal size. add game cover to be displayed on UnleashX dashboard. join splitted xisos. update attacher, artwork, filename, and directory name. batch processing. Disclaimer: This is shameless plug. I wrote this script. The quality probably not that satisfying, but so far it's fit my need. -
Linux ogXbox Tool Box
si_kabayan replied to si_kabayan's topic in Personal Computer (PC, MAC, Linux) General Talk
wine Well, wine is not really an ogxbox tool. But, when the tool we needed only made for Windows, wine will come in handy. No guarantee it will work though. Installing wine on 64 bit system will bring many 32 lib dependencies. So, I prefer to use wine distributed in AppImage format like this one: https://github.com/mmtrt/WINE_AppImage. I have much luck with its Stable release. -
Linux ogXbox Tool Box
si_kabayan replied to si_kabayan's topic in Personal Computer (PC, MAC, Linux) General Talk
xemu Probably not many people aware that xemu can be used for things other than gaming. If we run xemu with superuser right, it can has access to block devices. This mean we can use xemu to work with (ogxbox) physical disk, such as rebuild disk, transfer game, etc. Just make sure to select the correct disk, or you'll destroy your valuable data. Here's an example: First, plug ogxbox disk in to PC and then search for unmounted block device. ~$ lsblk -no NAME,MOUNTPOINT sda ├─sda1 /srv/nfs/hdata ├─sda2 /srv/nfs/hdocs ├─sda3 /srv/nfs/hmedia └─sda4 /srv/nfs/hntfs sdb nvme0n1 ├─nvme0n1p1 /boot/efi ├─nvme0n1p2 ├─nvme0n1p3 ├─nvme0n1p4 /srv/nfs/nntfs ├─nvme0n1p5 / ├─nvme0n1p6 /srv/nfs/ntfs └─nvme0n1p7 /srv/nfs/data As we can see, sdb is probably the disk we are looking for. Run xemu as sudo: sudo xemu Adjust xemu's settings accordingly: Machine > Settings... > System > Hard Disk And navigate to /dev/ directory then select sdb Load installer/rescue disc: Machine > Load Disc... Reboot xemu: Machine > Reset Done. We can do everything as if we boot installer disc on real ogxbox. Use config file to simplified the process. We can also rip game using DVD2Xbox. Just boot xemu > run DVD2Xbox > Load Disc... > select game iso > start ripping. DVD2Xbox can also rip to iso, but: Wont remove random padding. So if the loaded disc is in redump format, ripped iso is still quite big. Solution: extract or pack redump using extract-xiso or xdvdfs first. On my test, Cerbios failed to boot this iso. So as of now, use M8+ xiso patched. FTP on xemu is slow and quite complicated to setup. Try to pack the files to be transfered into xiso (xdvdfs) format using extract-xiso or xdvdfs. Load the disc and then copy paste using dashboard's file manager.

